Lost and Found
Lost and Found remixes Critical Computation by Xin Xin and Katherine Moriwaki, licensed under CC BY-NC-SA 4.0.
Composition
Grade 6~8
A. Symmetry and Asymmetry
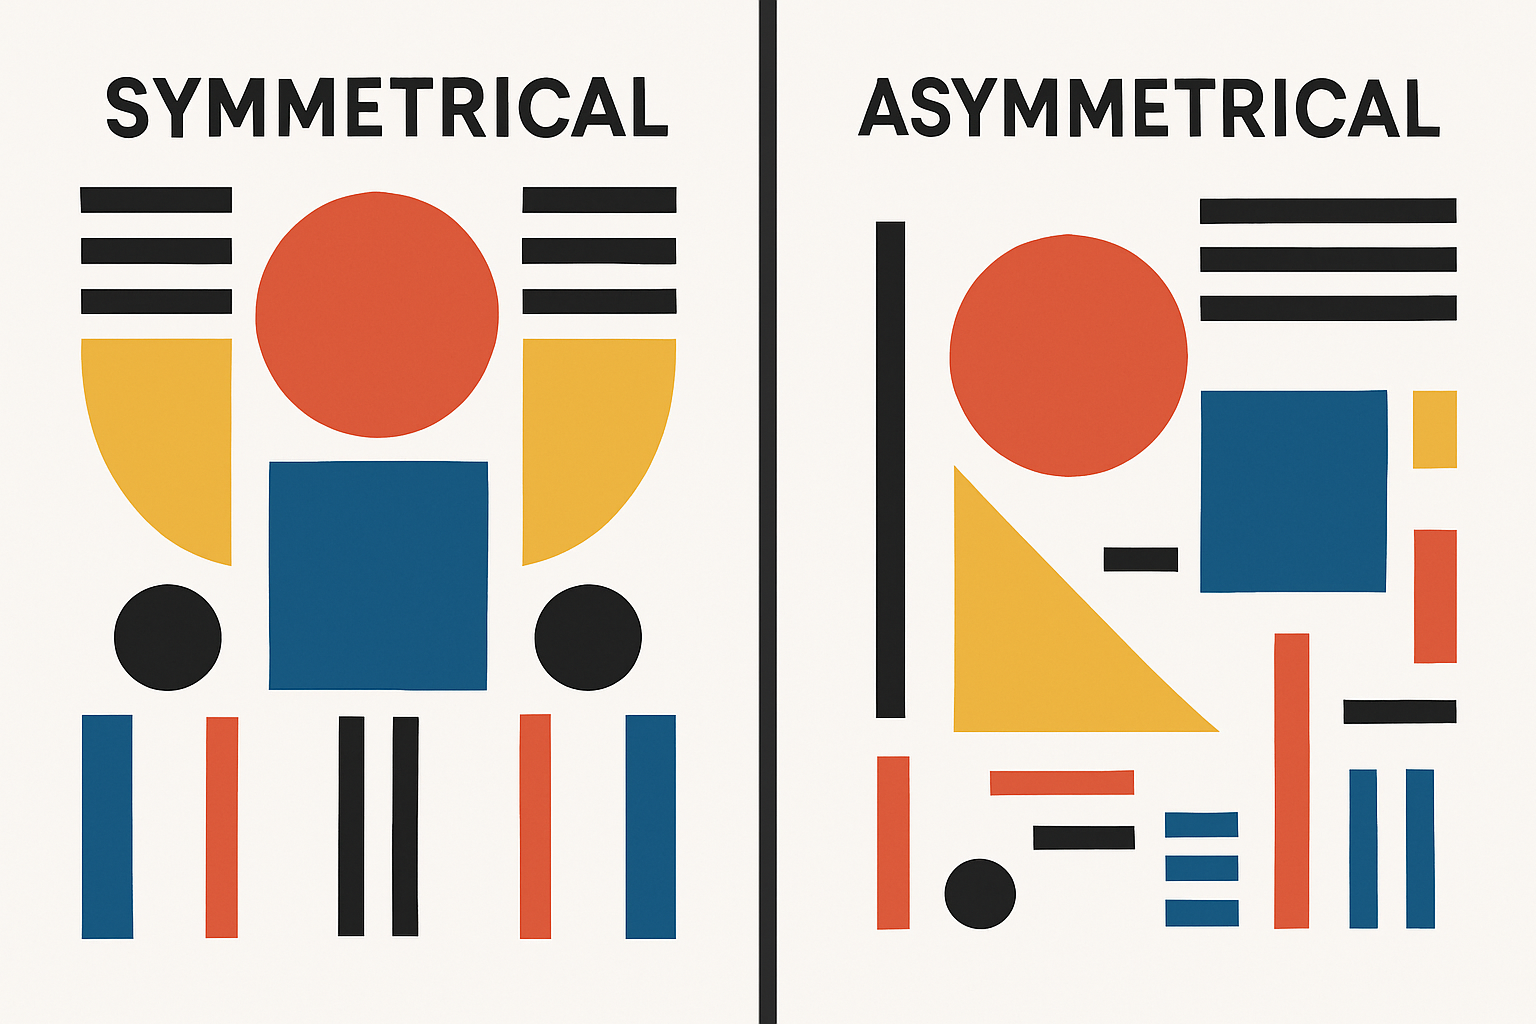
In composition, symmetry and asymmetry are equally valuable techniques to achieve visual rhythm and harmony.
In the following tutorial, we will use the lollipop sketch as the starting point to draw a wild flower on the sidewalk. The wild flower is going to contain both symmetrical and asymmetrical visual elements.
First, let’s turn the lollipop stick into a stem just by adjusting the fill() and the rect():
  //Stem
  fill(22, 102, 36);
  rect(200, 300, 6, 150);
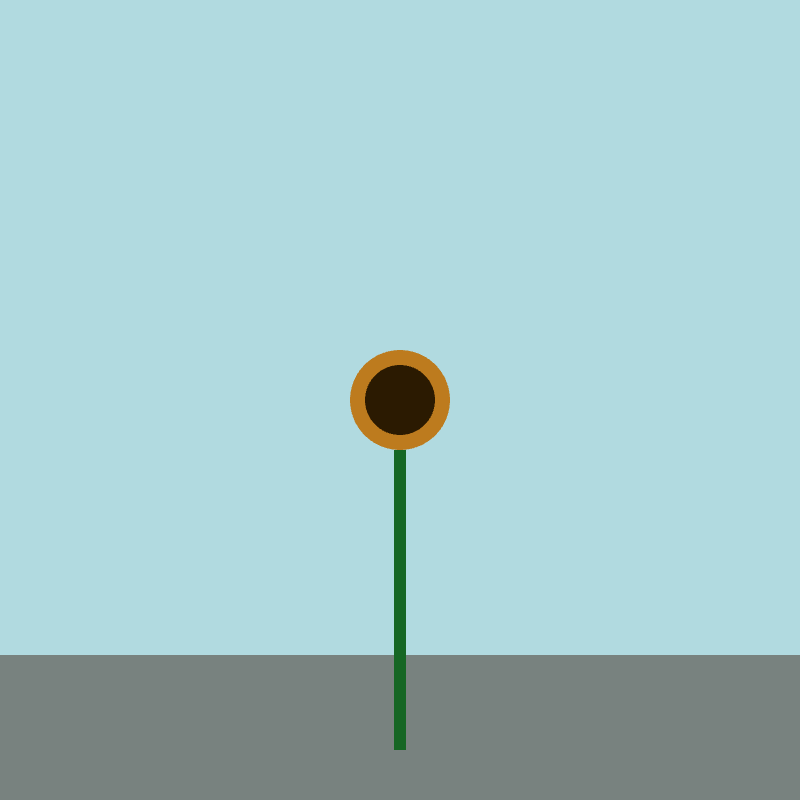
Then, let’s turn the lollipop candy into a pistil by adding another ellipse():
  //Pistil
  fill(189, 123, 30);
  ellipse(200, 200, 50, 50);

  fill(43, 26, 1);
  ellipse(200, 200, 35, 35);
We’ll also add a sidewalk for the flower to sit on:
  //Ground
  fill(120, 130, 127);
  rect(200, 365, 400, 75);
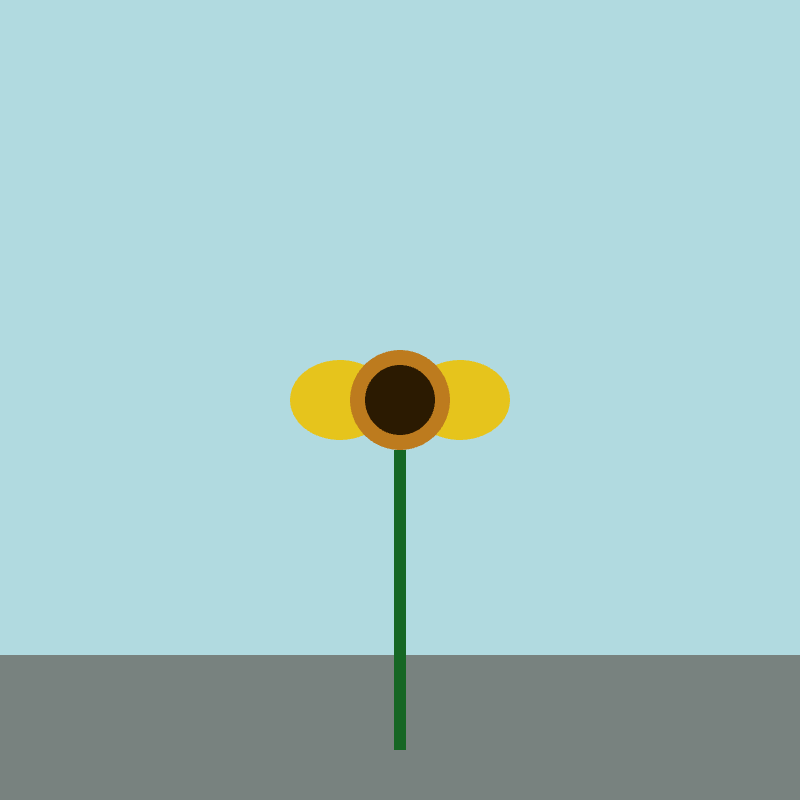
Let’s add two petals to the flower. The petals will stand behind the left and right side of the pistil:
  //Petals
  fill(230, 196, 28);
  ellipse(200 + 30, 200, 50, 40); // offset petal 30 pixel to the right
  ellipse(200 - 30, 200, 50, 40); // offset petal 30 pixel to the left
Using arithmetic operators such as addition (+) and subtraction (-) allow us to offset one petal 30 pixel to the left, and the other petal 30 pixel to the right, making it easier to create symmetrical drawings.
To add two more petals to the flower, one on the top and one on the bottom of the pistil, we will have to manipulate the Y positions of the ellipses:
  //Petals
  fill(230, 196, 28);
  ellipse(200 + 30, 200, 50, 40); // offset petal 30 pixel to the right
  ellipse(200 - 30, 200, 50, 40); // offset petal 30 pixel to the left
  ellipse(200, 200 + 30, 40, 50); // offset petal 30 pixel to the bottom
  ellipse(200, 200 - 30, 40, 50); // offset petal 30 pixel to the top
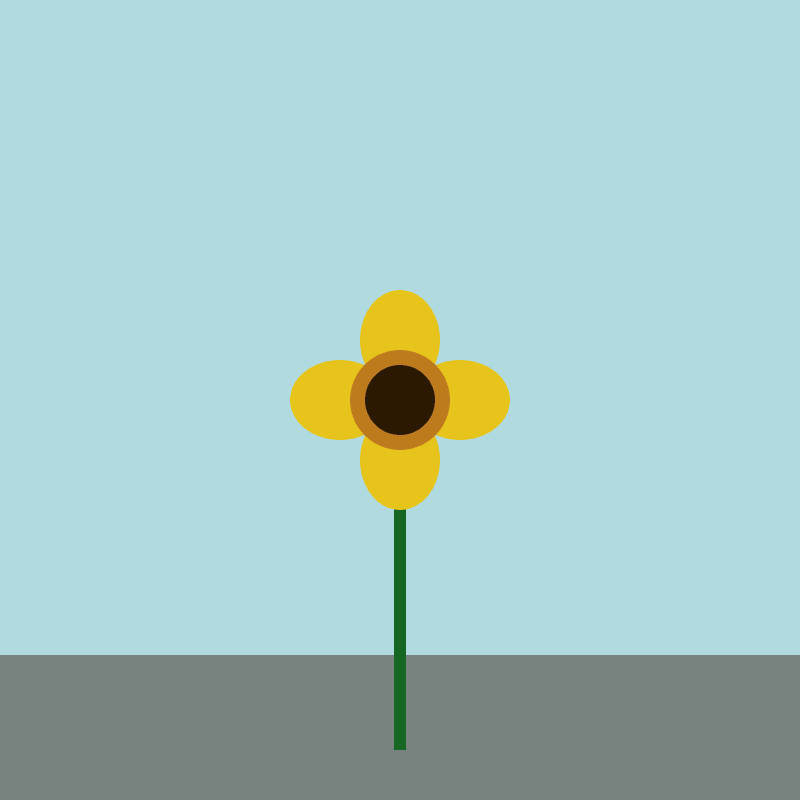
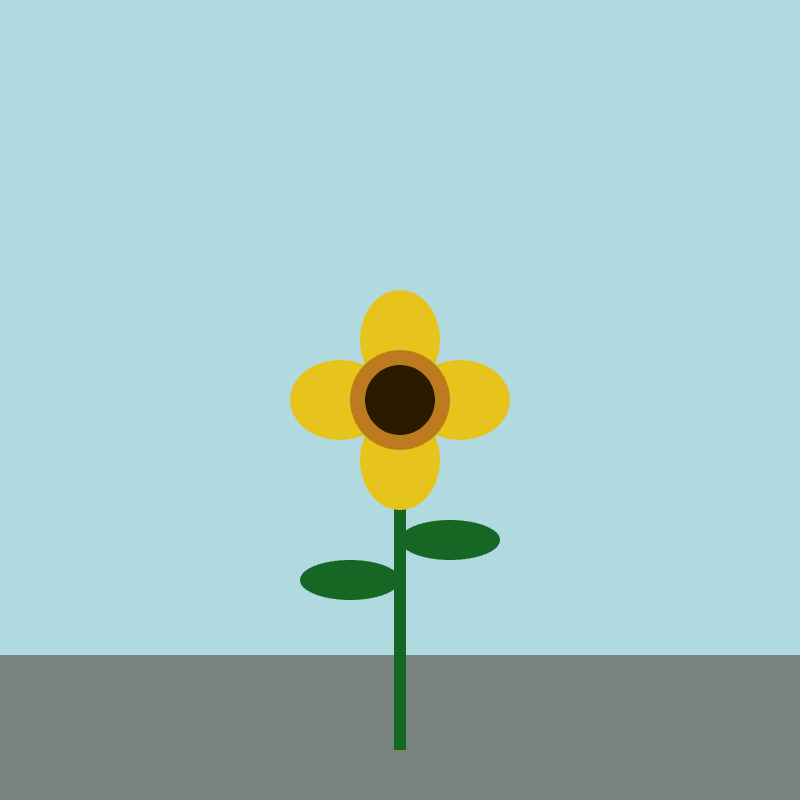
Voila! Now we have a symmetrical flower with petals perfectly offset from the center of the pistil.
Let’s complete this image by adding leaves:
   //Stem and leaves
  fill(22, 102, 36);
  rect(200, 300, 6, 150);

  ellipse(200 + 25, 200 + 70, 50, 20); // offset leaf 25 pixel to the right, and 70 pixel to the bottom
  ellipse(200 - 25, 200 + 90, 50, 20); // offset leaf 25 pixel to the left, and 90 pixel to the bottom
While the leaves are symmetrical on the X-axis, they are asymmetrical on the Y-axis, creating a cascading effect.
Code Snippet: flower example.
Grade 9~12
B. Grouped Drawing
As your p5.js journey unfold, you might find yourself wanting to move or resize a group of shapes all at the same time. This is achievable through features listed under the Transform category.
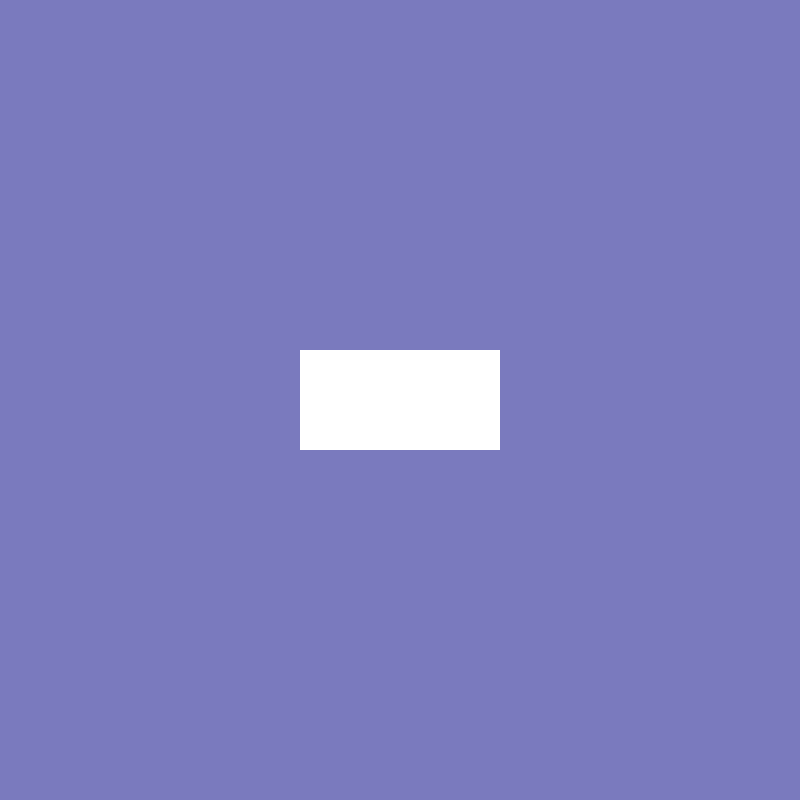
To begin, let’s draw a cloud using the translate() feature:

By default, the p5.js canvas origin (0, 0) is at the sketch’s top-left corner. translate() shifts the canvas origin to a different position.
function setup() {
  createCanvas(400, 400);
  rectMode(CENTER);
  noStroke();
}

function draw() {
  background(122, 122, 190);
  fill(255);

  // Shifts canvas origin to the center of the canvas
  translate(400 / 2, 400 / 2); // x, y

  // The rectangle refers to the new canvas origin to determine X, Y positions
  rect(0, 0, 100, 50);
}
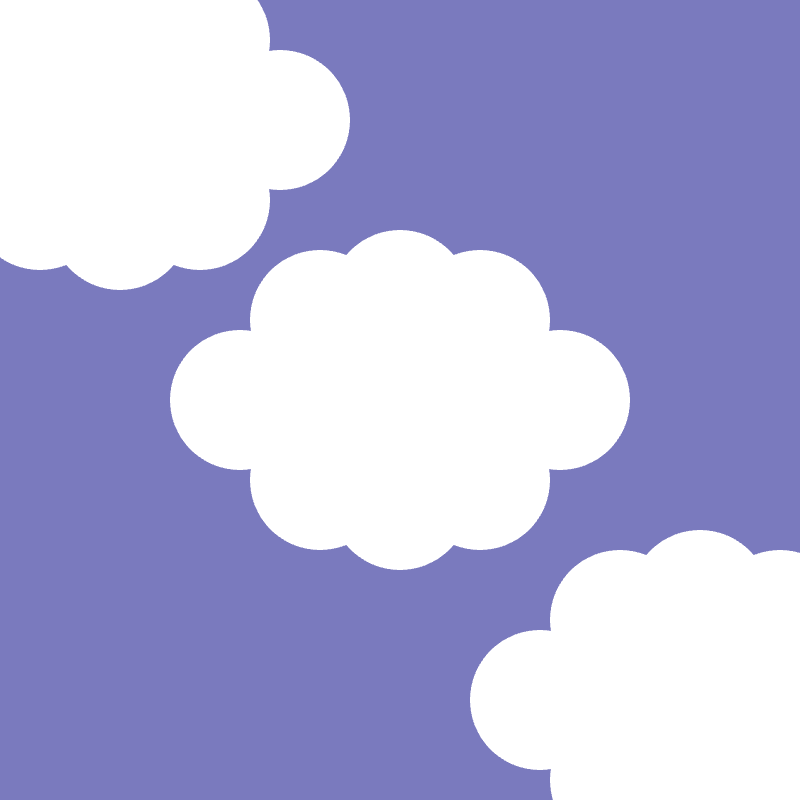
Now we’ll add a bunch of ellipses after the rectangle to create the cloud shape:
  ellipse(-80, 0, 70, 70); // offset ellipse 80 pixel to the left
  ellipse(80, 0, 70, 70); // offset ellipse 80 pixel to the right

  ellipse(-40, -40, 70, 70); // offset ellipse 40 pixel to the left, and 40 pixel to the top
  ellipse(40, 40, 70, 70);  // offset ellipse 40 pixel to the right, and 40 pixel to the bottom
  ellipse(-40, 40, 70, 70); // offset ellipse 40 pixel to the left, and 40 pixel to the bottom
  ellipse(40, -40, 70, 70); // offset ellipse 40 pixel to the right, and 40 pixel to the top

  ellipse(0, -50, 70, 70); // offset ellipse 50 pixel to the top
  ellipse(0, 50, 70, 70); // offset ellipse 50 pixel to the bottom

Great work! Before moving on to draw another shape, make sure that you sort your cloud drawing into a group using push() and pop().
Code Snippet: cloud example.
From this point on, you can draw a new shape, or copy and paste the cloud drawing into a new position on the canvas by manipulating the translate() values:
function setup() {
  createCanvas(400, 400);
  rectMode(CENTER);
  noStroke();
}

function draw() {
  background(122, 122, 190);
  fill(255);

  // Cloud 1

  // Begin tranformation
  push();

  // Shifts canvas origin to a new location
  translate(60, 60); // x, y

  // The rectangle refers to the new canvas origin to determine X, Y positions
  rect(0, 0, 100, 50);

  ellipse(-80, 0, 70, 70); // offset ellipse 80 pixel to the left
  ellipse(80, 0, 70, 70); // offset ellipse 80 pixel to the right

  ellipse(-40, -40, 70, 70); // offset ellipse 40 pixel to the left, and 40 pixel to the top
  ellipse(40, 40, 70, 70); // offset ellipse 40 pixel to the right, and 40 pixel to the bottom
  ellipse(-40, 40, 70, 70); // offset ellipse 40 pixel to the left, and 40 pixel to the bottom
  ellipse(40, -40, 70, 70); // offset ellipse 40 pixel to the right, and 40 pixel to the top

  ellipse(0, -50, 70, 70); // offset ellipse 50 pixel to the top
  ellipse(0, 50, 70, 70); // offset ellipse 50 pixel to the bottom

  // End transformation
  pop();

  // Cloud 2

  // Begin tranformation
  push();

  // Shifts canvas origin to a new location
  translate(200, 200); // x, y

  // The rectangle refers to the new canvas origin to determine X, Y positions
  rect(0, 0, 100, 50);

  ellipse(-80, 0, 70, 70); // offset ellipse 80 pixel to the left
  ellipse(80, 0, 70, 70); // offset ellipse 80 pixel to the right

  ellipse(-40, -40, 70, 70); // offset ellipse 40 pixel to the left, and 40 pixel to the top
  ellipse(40, 40, 70, 70); // offset ellipse 40 pixel to the right, and 40 pixel to the bottom
  ellipse(-40, 40, 70, 70); // offset ellipse 40 pixel to the left, and 40 pixel to the bottom
  ellipse(40, -40, 70, 70); // offset ellipse 40 pixel to the right, and 40 pixel to the top

  ellipse(0, -50, 70, 70); // offset ellipse 50 pixel to the top
  ellipse(0, 50, 70, 70); // offset ellipse 50 pixel to the bottom

  // End transformation
  pop();

  // Cloud 3

  // Begin tranformation
  push();

  // Shifts canvas origin to a new location
  translate(350, 350); // x, y

  // The rectangle refers to the new canvas origin to determine X, Y positions
  rect(0, 0, 100, 50);

  ellipse(-80, 0, 70, 70); // offset ellipse 80 pixel to the left
  ellipse(80, 0, 70, 70); // offset ellipse 80 pixel to the right

  ellipse(-40, -40, 70, 70); // offset ellipse 40 pixel to the left, and 40 pixel to the top
  ellipse(40, 40, 70, 70); // offset ellipse 40 pixel to the right, and 40 pixel to the bottom
  ellipse(-40, 40, 70, 70); // offset ellipse 40 pixel to the left, and 40 pixel to the bottom
  ellipse(40, -40, 70, 70); // offset ellipse 40 pixel to the right, and 40 pixel to the top

  ellipse(0, -50, 70, 70); // offset ellipse 50 pixel to the top
  ellipse(0, 50, 70, 70); // offset ellipse 50 pixel to the bottom

  // End transformation
  pop();
}
C. Illusion of Depth
scale() is a p5.js feature that makes it possible to resize the things we drew:
  // Begin tranformation
  push();

  // Shifts canvas origin to the center of the canvas
  translate(400 / 2, 400 / 2); // x, y

  scale(0.5); // Shrink the drawing to 50% of its original size

  // The rectangle refers to the new canvas origin to determine X, Y positions
  rect(0, 0, 100, 50);

  ellipse(-80, 0, 70, 70); // offset ellipse 80 pixel to the left
  ellipse(80, 0, 70, 70); // offset ellipse 80 pixel to the right

  ellipse(-40, -40, 70, 70); // offset ellipse 40 pixel to the left, and 40 pixel to the top
  ellipse(40, 40, 70, 70); // offset ellipse 40 pixel to the right, and 40 pixel to the bottom
  ellipse(-40, 40, 70, 70); // offset ellipse 40 pixel to the left, and 40 pixel to the bottom
  ellipse(40, -40, 70, 70); // offset ellipse 40 pixel to the right, and 40 pixel to the top

  ellipse(0, -50, 70, 70); // offset ellipse 50 pixel to the top
  ellipse(0, 50, 70, 70); // offset ellipse 50 pixel to the bottom

  // End transformation
  pop();

Code Snippet: shrunk cloud example.
Combining translate(), scale(), push() and pop() opens up enormous potentials for creating illusion of depth.
Play around with the multiple clouds example by resizing each cloud. Are you able to use scale() to make a cloud appear closer or further away?
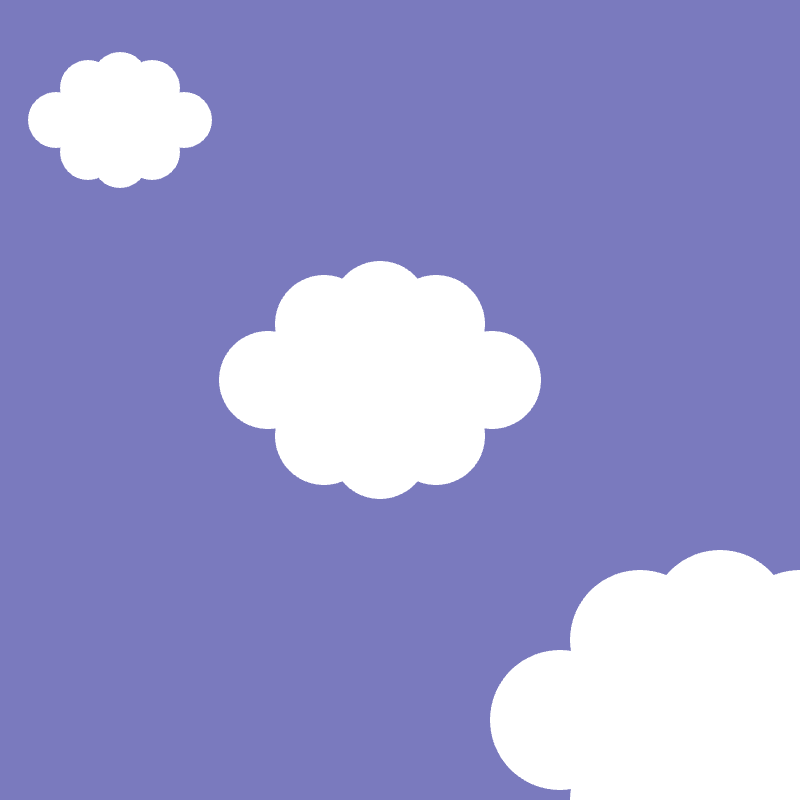
Code Snippet: multiple clouds with depth example.