Lost and Found
Lost and Found remixes Critical Computation by Xin Xin and Katherine Moriwaki, licensed under CC BY-NC-SA 4.0.
Variables
Grade 6~8
Recap
So far, we’ve looked at 2-D Primitive Shapes, how to place them on the screen, how to layer them on those of each other, and how to color them in. These are nice “Still Lifes” we’ve made. But what if we want to make your image to be less “still” by enabling some animations or interactions with key presses and mouse clicks? First, we’ll have to get comfortable with the concept of variables.
What is a Variable?
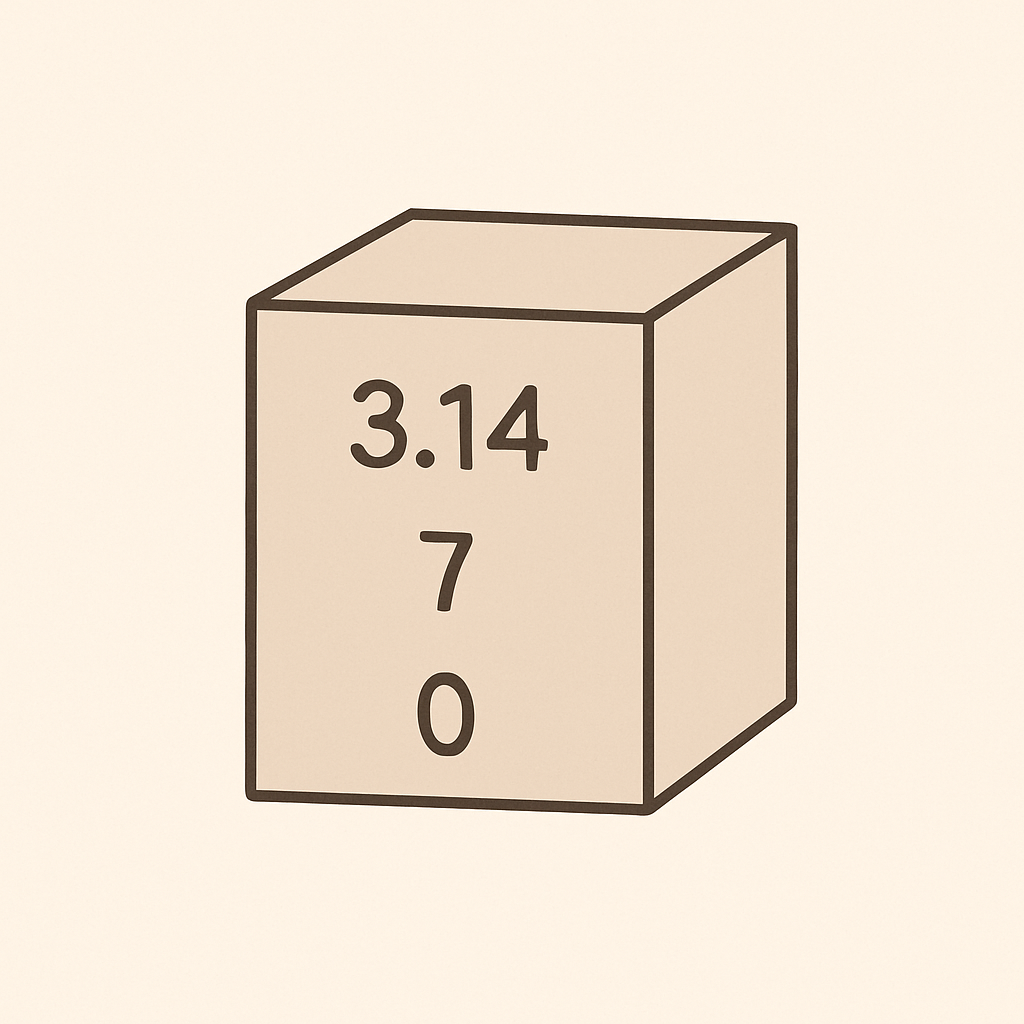
A variable is a container used to store data. Picture a box that lets you store data.
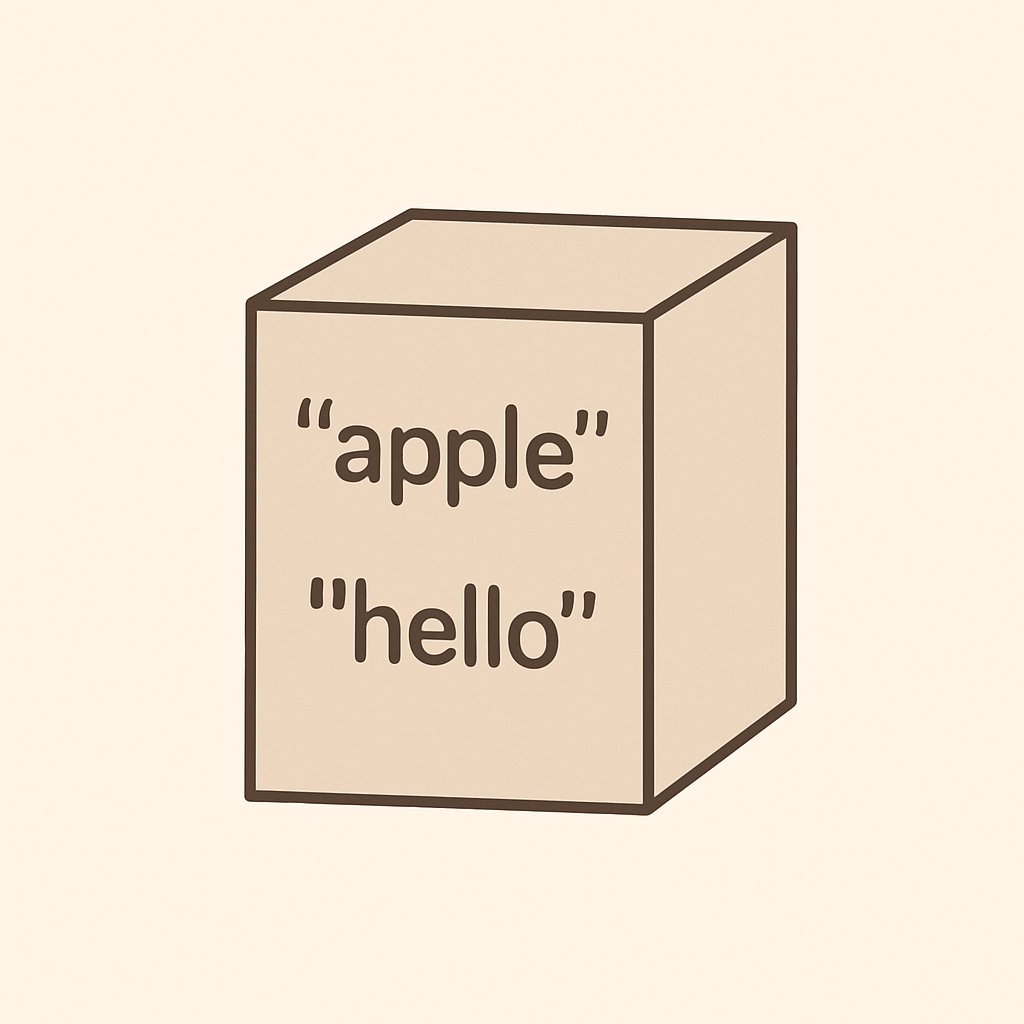
But what do we mean by data? These data can be numbers:
Or words:
Or your favorite images and songs:
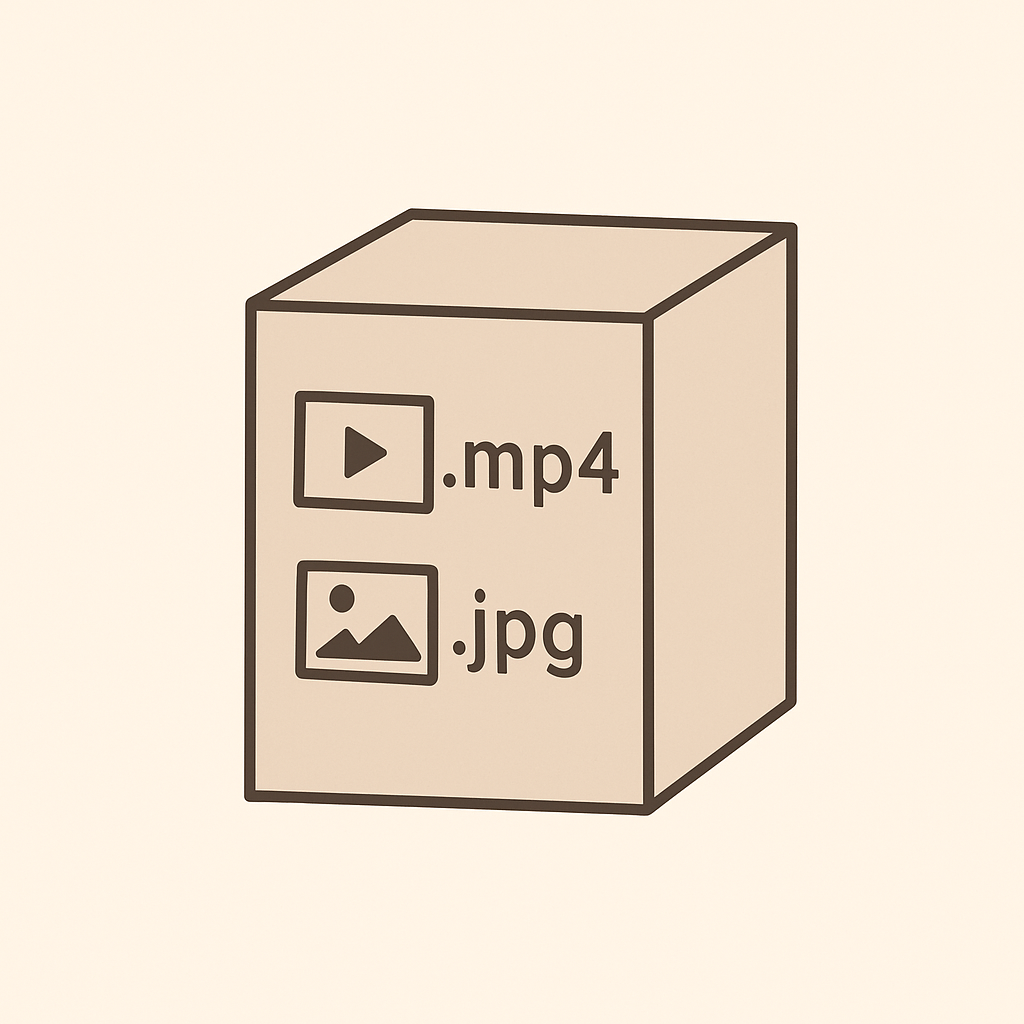
We store data in these boxes so that they can be used as resources while a computer program is running.
Creating a Variable
In order to create a variable, we need to give the variable a name. Think of this as the label you will be taping on the box to remind yourself what you’ve put inside the box.
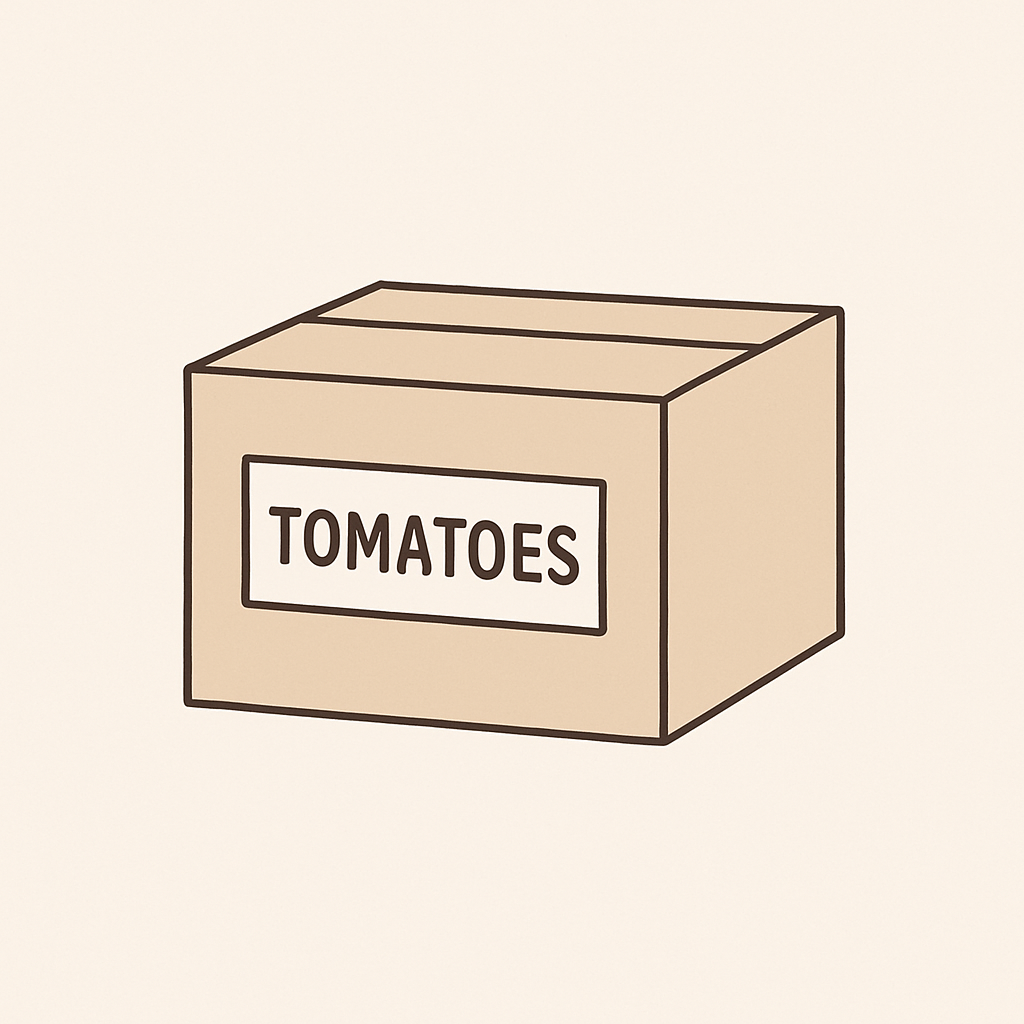
If we want to indicate that there are 3 items inside the tomatoes box, we would write it out like this:
let tomatoes = 3; // assign 3 to the tomatoes variable

function setup() {
  createCanvas(400, 400);
  console.log(tomatoes); // load tomatoes variable
}
Tip: Conventionally, the first letter of a variable name is written in lower-case.
There are some funny things here. First, we’re using a new word called let. What is let? You can think of let like a magic spell that lets us create variable to store data.
🧠Teacher Trick: Think of yourself as creating a new world, declaring aloud let there be light! By declaring with “let”, we’re proclaiming something (a variable) into existence in our world of code.
We’re also using another JavaScript feature called console.log() to load the content of our tomatoes variable. console.log() helps us to keep track of what’s inside a variable and debug code. We will be using it a lot to complete this project.
Also, let tomatoes = 3; is being written above function setup()! That’s right. Think about the computer program like a factory assembly line, and you need to have all of your boxes lined up before loading them into the machines.
Tip: By default, you will be creating variables at the top of your program. Variables that are created outside of function setup() and function draw() are called global variables.
Let’s practice using variables by remixing the lollipop example. Create variables that would store all the numbers we used to draw the lollipop:
// Lollipop stick variables
let stickX = 200;
let stickY = 240;
let stickWidth = 10;
let stickHeight = 100;
// Lollipop candy variables
let candyX = 200;
let candyY = 200;
let candyWidth = 60;
let candyHeight = 60;

function setup() {
  createCanvas(400, 400);
  noStroke();
  rectMode(CENTER);
}

function draw() {
  background(220);

  //Lollipop stick
  fill(255);
  rect(stickX, stickY, stickWidth, stickHeight);

  //Lollipop candy
  fill(180, 29, 159);
  ellipse(candyX, candyY, candyWidth, candyHeight);
}
When you click the play button, you should see the exact same lollipop sketch appearing in front of you. But instead of seeing a bunch of random numbers on the screen, we now have a better idea of what each number was created for. Amazing!
Tip: When a variable name contains two words, there are two conventional ways to format the text. The first way, also known as camel case, capitalizes the second word, e.g. candyWidth. The second way, also known as snake case, uses an underscore symbol to connect the two words, e.g. candy_x.
Using Math with Variables
You can apply arithmetic operators such as +, -, *, and / to variables! The following example shows how you can draw three circles with equal spacing in between:
let x = 200;
let y = 200;
let d = 80;

function setup() {
  createCanvas(400, 400);
}

function draw() {
  background(220);
  ellipse(x - 100, y, d, d); // left
  ellipse(x, y, d, d); // middle
  ellipse(x + 100, y, d, d); // right
}
Revisiting the multiple rect() example, where we were supposed to draw a row of rectangles diagonally across the screen, we could apply arithmetic to achieve the effect.
let offset = 40;
let boxD = 40;

function setup() {
  createCanvas(400, 400); // w, h
}

function draw() {
  background(220);
  rect(offset * 0, offset * 0, boxD, boxD); // x, y, w, h
  rect(offset * 1, offset * 1, boxD, boxD); // x, y, w, h
  rect(offset * 2, offset * 2, boxD, boxD); // x, y, w, h
  rect(offset * 3, offset * 3, boxD, boxD); // x, y, w, h
  rect(offset * 4, offset * 4, boxD, boxD); // x, y, w, h
  rect(offset * 5, offset * 5, boxD, boxD); // x, y, w, h
  rect(offset * 6, offset * 6, boxD, boxD); // x, y, w, h
  rect(offset * 7, offset * 7, boxD, boxD); // x, y, w, h
  rect(offset * 8, offset * 8, boxD, boxD); // x, y, w, h
  rect(offset * 9, offset * 9, boxD, boxD); // x, y, w, h
}
