Lost and Found
Lost and Found remixes Critical Computation by Xin Xin and Katherine Moriwaki, licensed under CC BY-NC-SA 4.0.
System Variables
The p5.js contributors have created a couple of variables that are available for us to load and use. These system variables were created to bring joy and ease to the coding process. We will spend the rest of Art + Code to try them out.
mouseX and mouseY
The mouseX and mouseY variables load the X and Y positions of your cursor in real time, allowing you to interact with your drawing with your mouse.
function draw() {
  background(220);
  ellipse(mouseX, mouseY, 20, 20); // x, y, w, h
  console.log(mouseX, mouseY); // displays mouseX and mouseY values in real time
}
Aside from using mouseX and mouseY to control the X and Y positions of an ellipse, we can also use those real time inputs to control the size of the ellipse:
function draw() {
  background(220);
  ellipse(200, 200, mouseX, mouseY); // x, y, w, h
  console.log(mouseX, mouseY); // displays mouseX and mouseY values in real time
}
Or the color of the ellipse:
function draw() {
  background(220);
  fill(mouseX, 100, 100); // r, g, b
  ellipse(mouseX, mouseY, 20, 20); // x, y, w, h
}
Tip: Similar to animation or a flip book, the modern browser has a framerate and refreshes 60 times per second! This illusion of real time can be interrupted when your browser slows down or crashes.
width and height
width and height variables loads the values of your canvas width and height, making it incredibly convenient to draw a shape in relation to the canvas. For example, if you’d like to draw two diagonal line() across the canvas:
function draw() {
  background(204);
  line(0, 0, width, height); // x1, y1, x2, y2
  line(width, 0, 0, height); // x1, y1, x2, y2
}

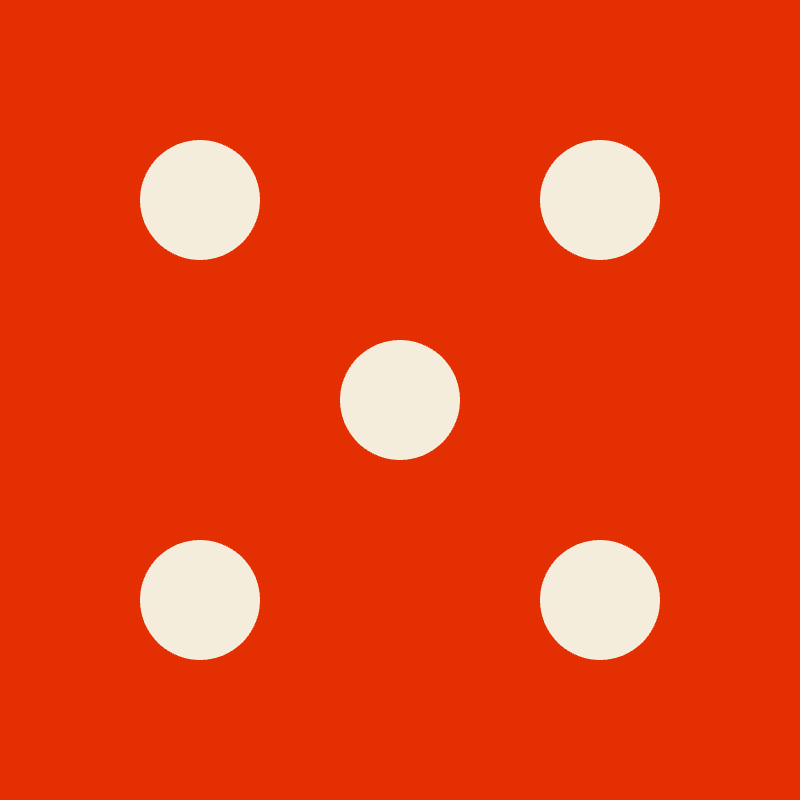
Or if you’d like to lay out your shapes with equal spaces in between:
let dieR = 60;

function setup() {
  createCanvas(400, 400);
  noStroke();
}

function draw() {
  background(227, 47, 2);
  fill(245, 237, 220);
  ellipse(width / 2, height / 2, dieR, dieR); // places the pip in the center
  ellipse(width / 4, height / 4, dieR, dieR); // places the pip in the upper left corner
  ellipse((width / 4) * 3, height / 4, dieR, dieR); // places the pip in the upper right corner
  ellipse(width / 4, (height / 4) * 3, dieR, dieR); // places the pip in the lower left corner
  ellipse((width / 4) * 3, (height / 4) * 3, dieR, dieR);
  // places the pip in the lower right corner
}
Mouse Interaction
This section introduces mousePressed(). With this feature, you can use the mouse button to generate a new random number everytime the mouse is pressed:
let d;

function setup() {
  createCanvas(400, 400);
  d = random(80, 100); // randomly pick a number between 80 and 100
}

function draw() {
  background(220);
  ellipse(200, 200, d, d);
}

function mousePressed() {
  d = random(80, 100); // randomly pick a number between 80 and 100
  console.log(d); // print d
}

Let’s get more practice by applying the same idea to the lollipop example. Update the sketch so that everytime mouse is pressed, the candy will get assigned a new random color.
function draw() {
  background(220);

  //Lollipop stick
  fill(255);
  rect(stickX, stickY, stickWidth, stickHeight);

  //Lollipop candy
  fill(candyR, candyG, candyB);
  ellipse(candyX, candyY, candyWidth, candyHeight);
}

function mousePressed() {
  candyR = random(0, 255); // randomly pick a number between 0 and 255
  candyG = random(0, 255); // randomly pick a number between 0 and 255
  candyB = random(0, 255); // randomly pick a number between 0 and 255
  console.log(candyR, candyG, candyB); // print candyR, candyG, candyB
}

Code Snippet: random lollipop example.
Tip: Code inside of function mousePressed() runs once after the mouse button gets pressed.
Keyboard Interaction
keyPressed() works in a very similar way. With this feature, you can run a block of code after any key on the keyboard gets pressed.
let d;

function setup() {
  createCanvas(400, 400);
  d = random(80, 100); // randomly pick a number between 80 and 100
}

function draw() {
  background(220);
  ellipse(200, 200, d, d);
}

function keyPressed() {
  d = random(80, 100); // randomly pick a number between 80 and 100
  console.log(d); // print d
}
Now that you’ve learned the basics of mouse and keyboard interactions, incorporate this feature into your next sketch to make it more interactive.